⭐ Highligts
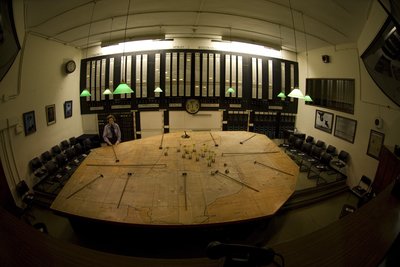
Operations Room
The war’s nerve centre for southeast EnglandPlotters with rakes slid blocks across a giant map as controllers ‘scrambled’ squadrons by telephone and radio.
📍 Bunker level, guided tour only
Dowding System Explained
World-leading network warfare—1940 editionChain Home radar + Observer Corps + sector control = minutes of advantage turned into survival.
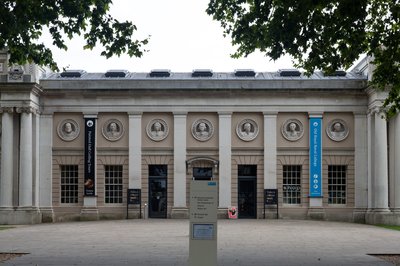
📍 Surface museum, timeline wall
Voices in the Headset
Stress you can hearReal transcripts of clipped commands and acknowledgements from controllers and pilots.
📍 Audio stations
Churchill’s Visit
15 September 1940, the turning point observedChurchill watched from the balcony as raids peaked; he left to declare the day decisive.
📍 Ops room gallery notes
Opening Hours
Admissions
🤓 Fun Facts
Those coloured sectors on the big clock weren’t decorative—controllers used them to timestamp plots so they knew, at a glance, how ‘fresh’ each sighting was.
WAAF plotters (Women’s Auxiliary Air Force) provided much of the bunker’s workforce; the ‘rake’ jobs demanded spatial memory and split-second hearing.
On ‘Battle of Britain Day’ (15 Sept 1940) Winston Churchill watched operations here; two days later he gave his ‘so many to so few’ speech in the Commons.